Blender Virtual Production
Models & Video Compositing

About the Project
This motion graphics project was an experiment. The goal was to understand the workflow and usability of virtual production in Blender and compare video compositing between After Effects and Blender. By combining 2D motion graphics, kinetic typography, and seamless compositing techniques, I developed a set of visual assets for social media, websites, and presentations.
Through a combination of 2D motion graphics, kinetic typography, and seamless compositing, I developed a suite of visual assets used across social media, website, and presentation materials.
Key Animations
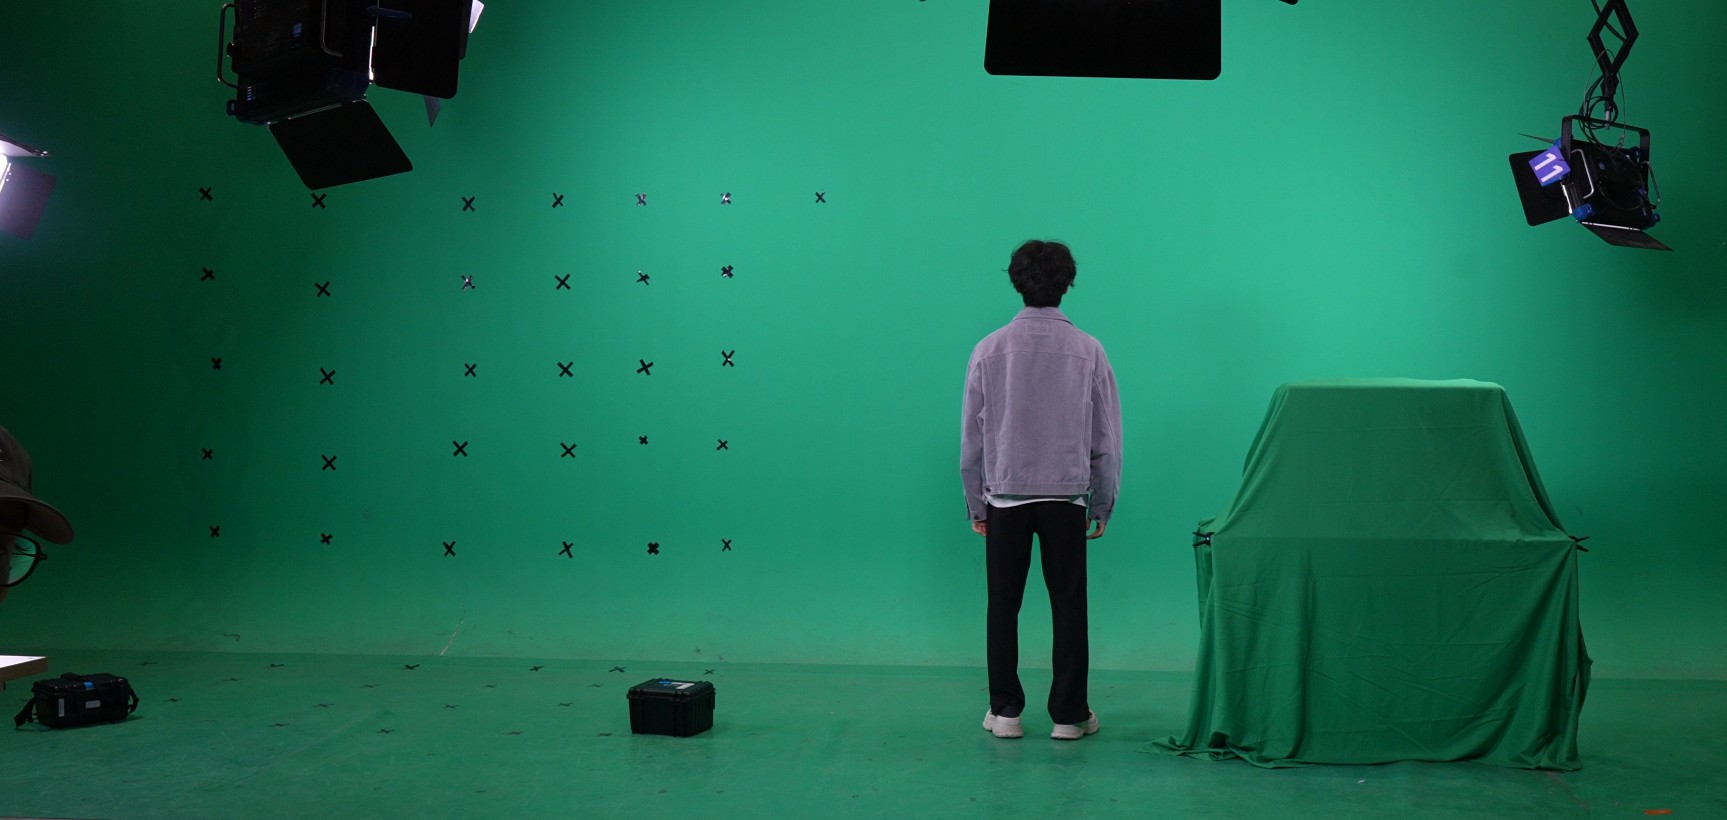
Pre-production
Pre-production shooting environment - green screen and tracking points.

Small boat on the sea
Non-standing post-production compositing.
Pre-production
Try using props to assist the actors in completing their movements.
Creative Process
1. Concept Development & Storyboarding
Choose the core visual elements of your video. Create a detailed storyboard outlining key scenes.
2. Pre-production
Set up tracking points in the green screen studio, complete camera tracking using After Effects after shooting, and export the camera movement data to Blender.
3.3D Scene Creation
Create the grass using a plugin in Blender and add motion simulation. Then, match the camera motion data exported from After Effects to the camera in Blender.
4. Compositing
Key out the shot green screen footage using the Roto Brush tool in After Effects to obtain a PNG image sequence with a transparent background. Then, create a plane in Blender and apply the PNG sequence exported from AE as its material.